With the Outdoor Camera Solar Panel, you can power your Outdoor Camera without the need to separately recharge or replace the battery—like a traditional wired outdoor security camera, while retaining install-anywhere convenience. With just 3 hours of direct sunlight per day, the water-resistant Solar Panel keeps your Outdoor Camera charged at all times.
Thanks to its 13 foot power cord, the Solar Panel doesn’t need to be installed in the same place as your camera. Simply run the cable to the Outdoor Camera and use the included cable management velcro sleeve to neatly tuck unused cable behind the solar panel.
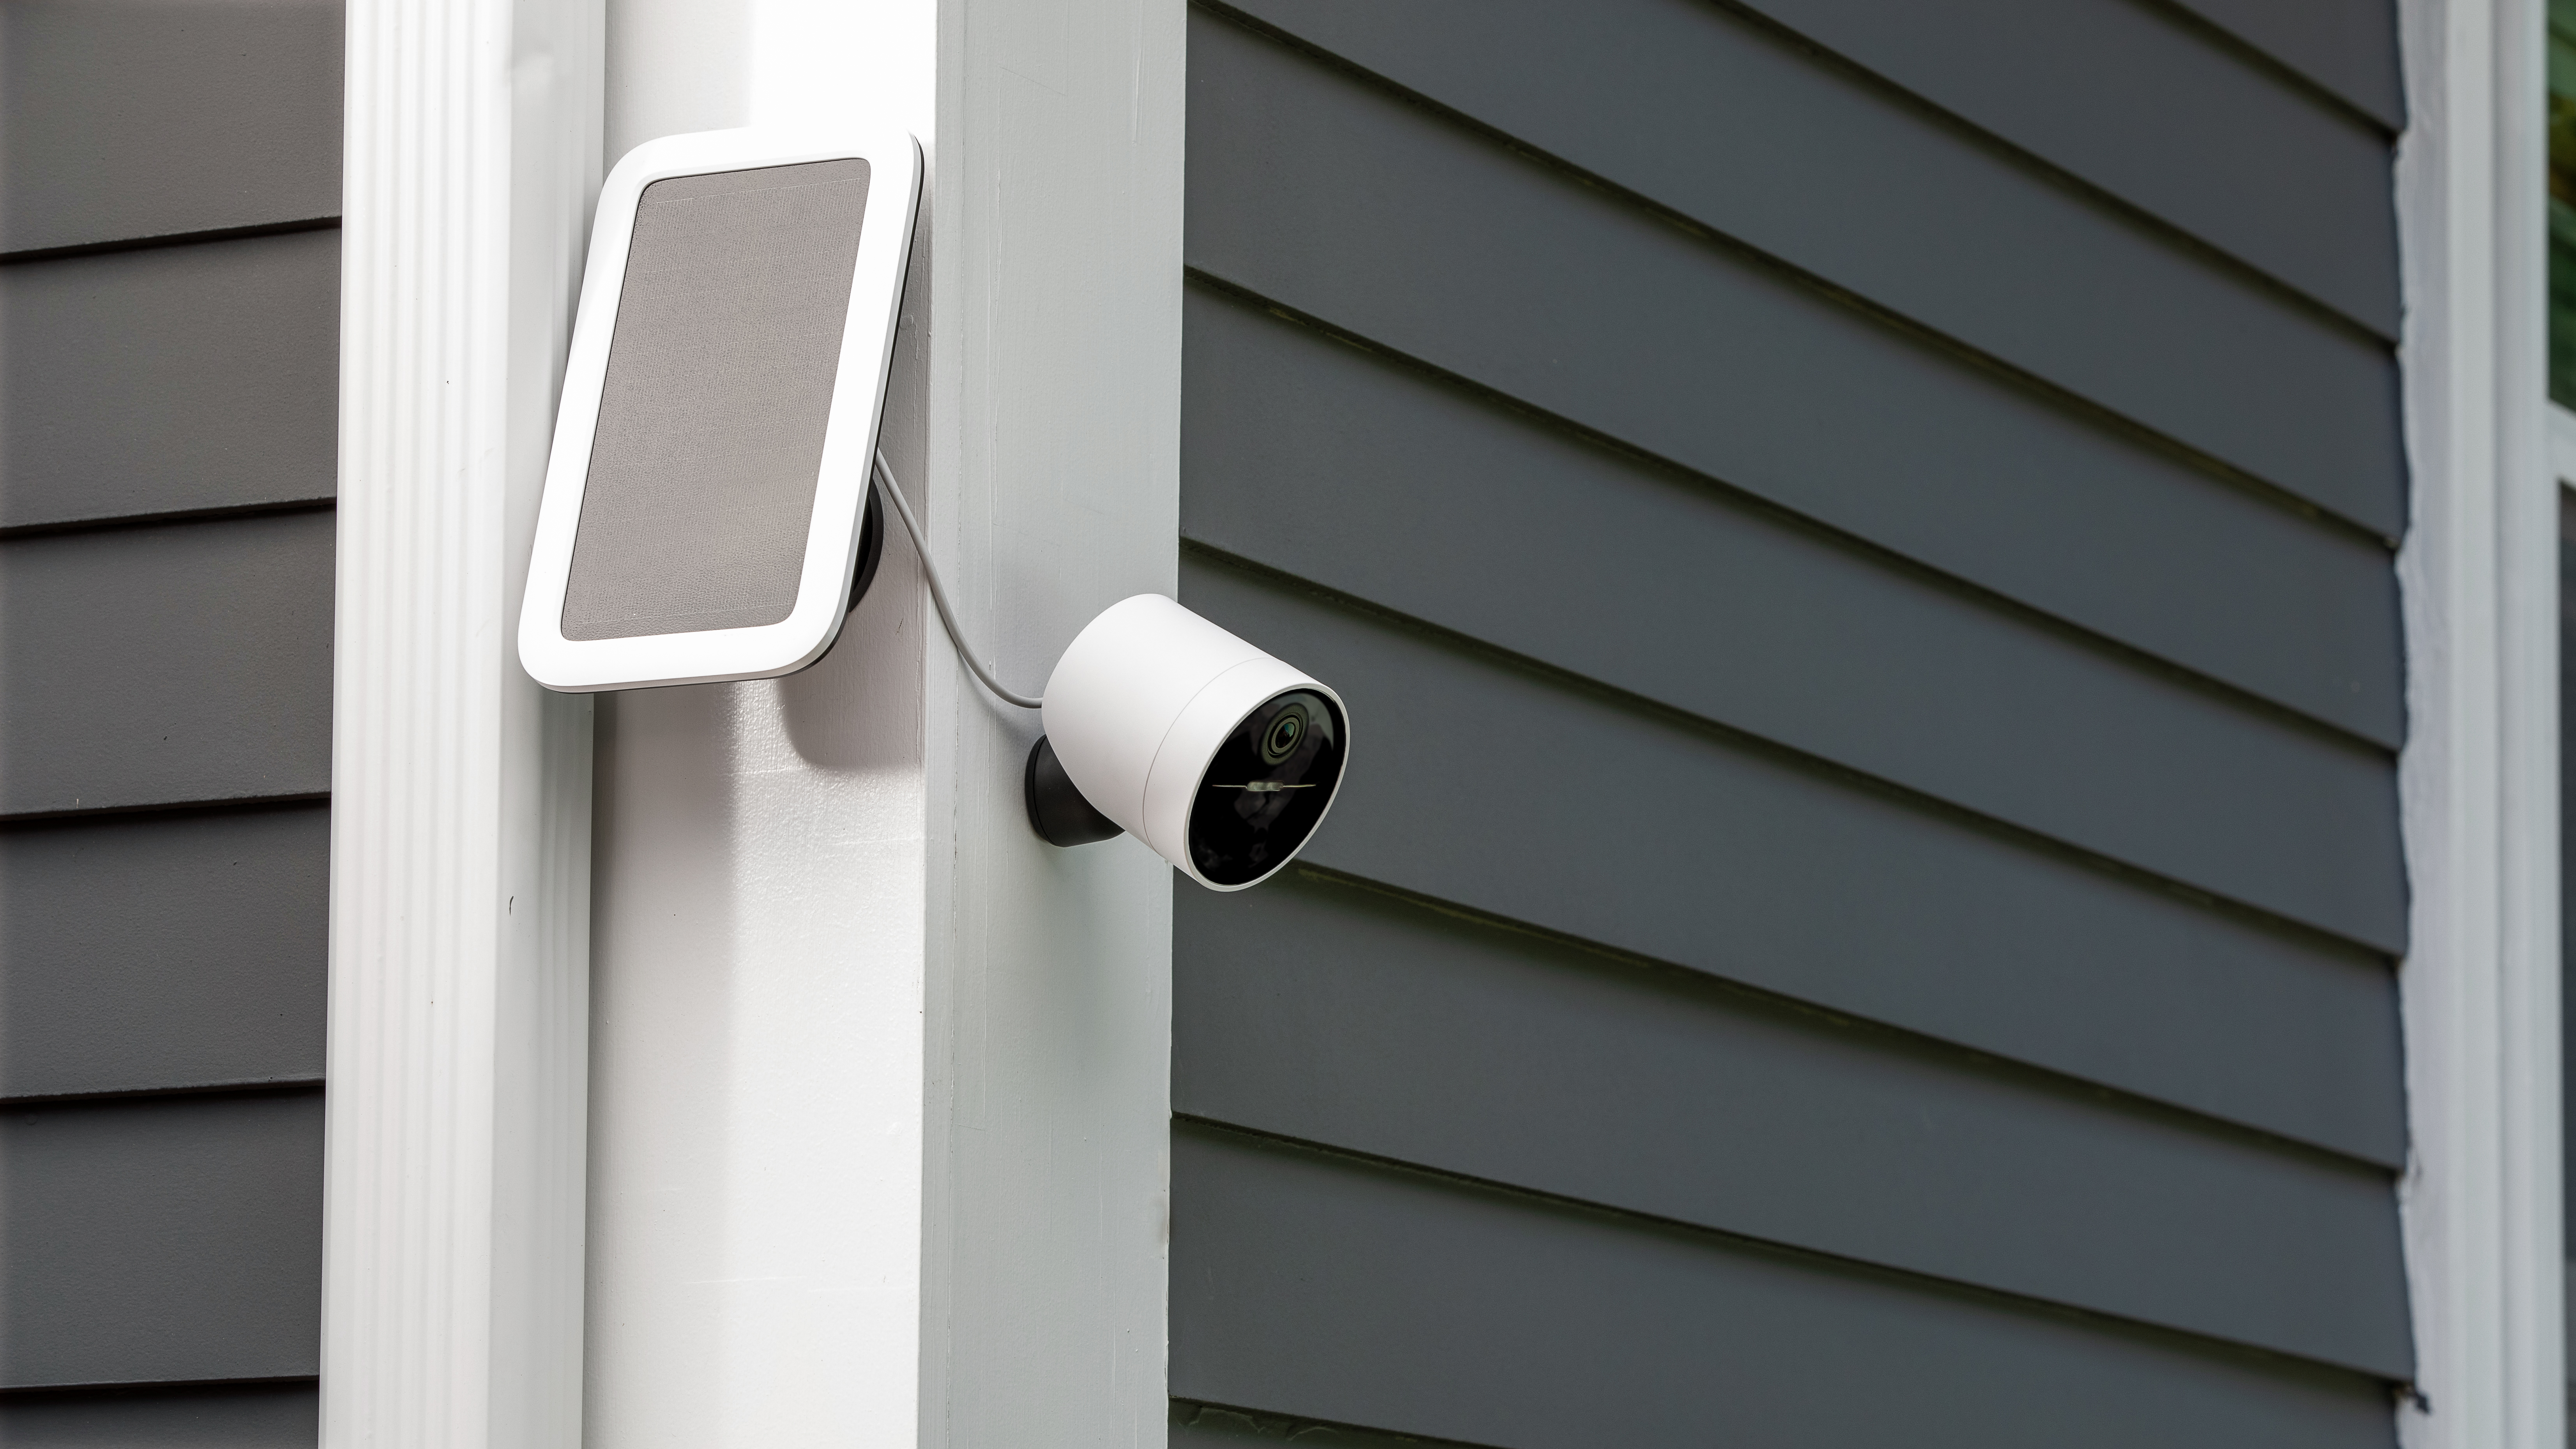
Physically Installing Your Solar Panel
First, you’ll need to find a location within 13 feet of your Outdoor Camera. This should be a spot that receives at least 3 hours of direct sunlight per day.
Next, you’ll need the appropriate tools to install your Solar Panel.
If mounting on brick/stucco/stone surfaces:
Use a ¼” masonry drill bit to drill two pilot holes into the surface
Then, use the included anchors and screws to attach the Solar Panel to the wall
If mounting on wood or vinyl surfaces:
Screw the self-tapping screws directly into the wall using a handheld screwdriver
Wood surfaces generally do not require pre-drilled holes
After mounting the Solar Panel, use the omnidirectional mount to aim it towards the direction that will give it the most access to sunlight.
Finally, secure any excess power cord by wrapping it around the base of the Solar Panel, then using the cable management velcro straps to ensure the cord will not get tangled or caught by inclement weather or small animals.
Troubleshooting
The Solar Panel is designed to maintain your Outdoor Camera’s battery life, not to recharge it. If you find that your Solar Panel is not keeping your camera battery topped off, there are a few steps you can take to try and resolve this.
As mentioned above, the Solar Panel will maintain your battery's current level. If your Outdoor Camera’s battery is too low, the Solar Panel may have trouble keeping it topped up. You’ll want to charge the battery for your Wireless Outdoor Security Camera or Outdoor Camera Series 2 for at least 6 hours, to get it to 100% battery. You’ll know it’s fully charged once all 3 lights are illuminated and no longer pulsing.
After it’s charged, you will also want to ensure that you are replacing the battery in the correct orientation. Placing the battery into the Outdoor Camera incorrectly will result in it not powering on. Additionally, the Solar Panel will only work with a charged battery inserted - it is not designed to solely power the camera.
Once your camera is powered back on, you can try using the Solar Panel and seeing if the battery stays topped off or depletes. If the battery is still depleting from there, move on to step 2.
The cable must be placed securely into your Outdoor Camera in order for the Solar Panel to work. This does require some light force to secure the connection, so you may need to use both thumbs, or the palm of your hand to apply even pressure to lock it into place. Failure to create a proper seal can expose your Outdoor Camera’s charging port to the elements - and has the potential to damage the camera and Solar Panel.
The Solar Panel must receive at least 3 hours of direct sunlight a day to maintain your current battery level. The Solar Panel comes equipped with a 13-foot cable, so you can use it in a location that gets more sunlight versus mounting it directly next to your camera.
Dust, debris, water, and snow can impact the performance of the Solar Panel. If you notice that your Outdoor Camera’s battery is depleting, we recommend wiping the Solar Panel with a clean, dry cloth.
The Solar Panel is designed to maintain your camera’s battery level between temperatures ranging from 0 degrees Celsius to 49 degrees Celsius. The Solar Panel will not charge outside of that temperature range.
*The Outdoor Camera battery is only compatible with a SimpliSafe® Outdoor Camera Solar Panel, not with any third-party solar panel devices.